
Berries, Clean Eats, Dairy-Free, Dessert, Healthy, Mother's Day, Raw, Wheat Free
Raspberry Coconut Macaroons
This spring is just flying by! I really cannot believe that it is already May. There are a few big…
May 7, 2016
This spring is just flying by! I really cannot believe that it is already May. There are a few big…
May 7, 2016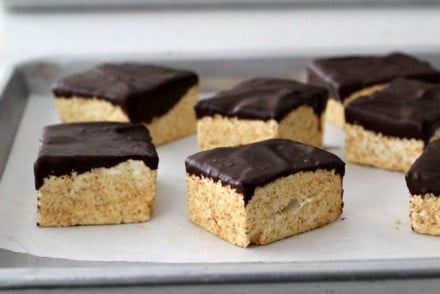
Marshmallows are quickly becoming my Valentine. It seems every year around this time I make a batch of marshmallows.…
February 13, 2016
With Valentine’s Day coming up, you might be thinking about making a special treat for your sweetheart. I’ve rounded…
February 7, 2016