Life

Freshly Baked, 2.0

October 25, 2019

It’s been a hot minute since I last blogged. Or like, a year.

I don’t know how that happened. I feel like I had the best intentions to blog, and even remember taking photos of recipes to blog, but somehow they never made it up. And I know why – because, kids.

Last September I went back to work three days a week, and almost immediately after starting work I was pregnant again. I blame the pregnancy (hello first trimester exhaustion), work, and a one year old to chase after. I didn’t mean to have such a break from blogging, it sort of just happened.

If you follow me on Instagram you’ll see some posts, and recipes in my stories. I’ve definitely been cooking and baking (someone has to) – just haven’t been able to document it quite as well as I used to. I’m itching for a new camera and maybe on this maternity leave I’ll have the time (Ha) and energy (ha-ha!) to bake and blog again. I’d like to – don’t get me wrong, but with the little free time I have there is always something to be done (laundry, dishes, shower (maybe), eat (maybe), clean, laundry, laundry – oh, did I mention laundry??)

After 9 months, a week late, and so fast she didn’t give me a chance for the drugs (OW) – we gave birth to another baby girl – it was a surprise!

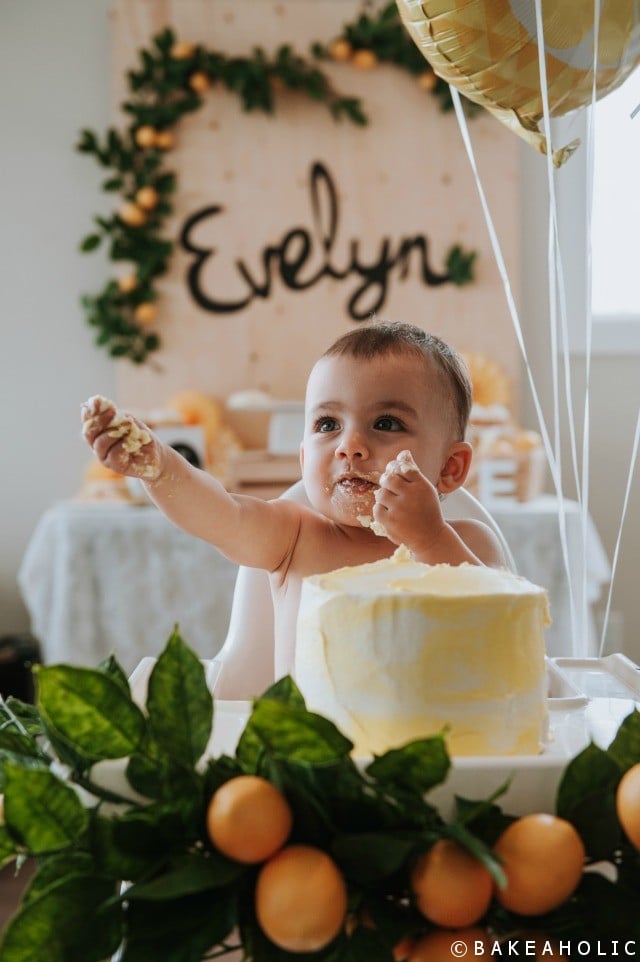
We named her Scarlett June (born June 30). I was secretly hoping if it were a girl, I would use June as her middle name. At one point I thought I was going to have a July 4th baby (the day I would have been induced). Thankfully she arrived just in time. We only had one girl name chosen, Scarlett, and when I saw her red hair I knew that was it. She is a fiery little red head with fair skin. She’s the complete opposite of Evelyn (dark hair, olive skin). She is the sweetest, chubbiest, happiest (when not crying ha) baby. My mom lovingly calls her a little Beluga – yes, the big white whale. And she has stolen everyones heart in the 3.5 months she’s been with us.

I’m still baking in the kitchen, with a tiny little sous-chef who likes to taste-test the chocolate chips (“more, mama? All of them?”), and loves measuring the ingredients. Maybe I’ll get a recipe or two up one day soon!

Thanks to my childhood friend, turned photographer for taking some photos for us @JalenLainePhotography

Cookies, Halloween, Pumpkin, Thanksgiving

Pumpkin Thumbprint Cookies

October 1, 2018

It’s my favourite time of year! It’s October – the best month (second to December), and that means I’m allowed to put out the Halloween decorations! (haha) and I can unapologetically make all the pumpkin recipes. I’ve already sent Adam to the store, twice, to buy cans of pumpkin puree. However, this weekend I bought some cooking pumpkins, and I can’t wait to make my own pumpkin puree!

I’m looking forward to all the fall activities this month – visiting farms, pumpkin patches, rainy walks, carving pumpkins and decorating. 

These Pumpkin Thumbprint Cookies were dreamed up while thinking of all things pumpkin, and of course I stumbled upon inspiration here. These remind me of a shortbread cookie, but also those cream-cheese shortbread cookies, but here the chewy moist texture comes from the pumpkin.

These little thumbprints would be great to take along to a Thanksgiving dinner this weekend, or for a fall treat. 

I’m slowly getting together our halloween costumes, this year Evie can walk so I’m so excited for her to walk around and ‘trick or treat’ – but more so to wear an adorable costume. What’s Halloween without babies in cute costumes?

These little pumpkins were from the farm market this weekend, and they don’t even look real! They’re perfect. 

I decided to drizzle some with chocolate… and let’s just say it was a happy accident, because I feel like they look a little like spiders?! Perhaps they would be great for a Halloween party? Or have I gone crazy and everything is Halloween to me – oh well. 


Pumpkin Thumbprint Cookies

Ingredients:
  • ¼ cup + 2 Tbs. Butter, softened
  • ¼ cup Brown Sugar, or Coconut Sugar
  • ¼ cup Sugar
  • 1 egg
  • 1/2 cup Pumpkin Puree
  • 3 cups AP Flour
  • 1 – 2 tsp. Pumpkin Pie Spice (Or nutmeg+cinnamon+ginger) add more if you like it spicy.
  • 1½ teaspoons Baking Powder
  • Jumbo Dark Chocolate Chips
  • Coconut Oil (optional)

Directions:

  1. Preheat oven to 375. Line baking sheet with parchment paper. 
  2. Cream together butter and sugars. Add egg and mix well. Add puree and mix again.
  3. In separate bowl, whisk together flour, spices and baking powder.
  4. Add dry ingredients to wet ingredients and mix until dough comes together.
  5. Roll dough into 1-inch balls and place on baking sheet. 
  6. Bake for 10-11 minutes until golden brown and ‘crackled’ on top.
  7. Immediately after removing from the oven, push a jumbo dark chocolate chip into the centre.
  8. Once cookies have cooled, if you want to add a drizzle melt a handful of the dark chocolate chips with a tsp of coconut oil. Place in zip-lock bag and snip off the end, drizzle over cookies. 
  9. Allow to set completely before storing in container, or freezing. 

Makes 4 dozen.

SaveSave

SaveSave

SaveSave

SaveSave

SaveSave

Birthdays, Cookies

First Squeeze + Soft Sugar Cookies

September 11, 2018

A couple weeks ago we celebrated Evie’s First Birthday!! I can’t believe we already have a one-year-old – where did the year go?!

It’s crazy how quickly it truly goes. Everyone tells you, but you don’t realize it until you have a one-year-old and wonder where your baby went. Evie took her first steps a week before her birthday, and now walks around everywhere, doing whatever she wants haha.

I started planning for this party months in advance – and of course, the theme had to be lemon. The lemon theme came from her baby shower, and continued with her after she was born. We didn’t know if we were having a boy or girl, so the citrus theme of the shower was neutral. Truth be told, the lemon decor was actually purchased for our wedding! but we didn’t end up using it (although now, I wish we had!) We ended up using the lemons again for her newborn photos, and she just became my little lemon baby (or, lemon loaf). 

Every time I saw something with lemon print on it, it reminded me of her (and I had to have it! haha) The lemonade stand theme idea came from pinterest, of course. And the first thing I did was ask Adam if he could build me a little lemonade stand. I was inspired by this post – and had to laugh because the little girl’s name was also Evelyn.

I really wanted to make the ‘quintessential’ number “1” cookies, and had honestly never made any sugar cookies before. They always intimidated me, and mine never turned out. This time, my friend had made dozens of sugar cookies at christmas and I remember her saying this recipe for soft sugar cookies was super simple. I thought I’d give it a try, and do a trial run before the party just in case. 

They turned out SO good. Like, I didn’t even have to throw any away good (ha). The recipe could not be easier, even for a novice cookie maker like myself. The dough requires NO chilling time, and is so simple to cut out. The royal icing recipe was from Butter Baked Goods cookbook. I don’t have a lot of experience with it, but I created different consistencies (thick and thin, or flood and outline) depending on what I wanted. After a few “I’ll eat them if they look bad” cookies, they started to look really good – at least, good enough for a one-year-olds birthday party. 

The party was a hit – and she definitely loved eating her cake! The best thing I did was ask a friend to take photos for us, so we could enjoy it and not worry about it! I’m so glad we did! Thanks to Jalen Laine Photography for capturing these goofy pics!

Find the Soft Sugar Cookie recipe here

Royal Icing – Recipe from Butter Baked Goods Cookbook

Ingredients:

4 cups icing sugar

1/4 cup meringue powder

6-8 tablespoons water

Directions:

  1. In a stand mixer with whisk attachment, combine the icing sugar and meringue powder. Mix on medium speed until the meringue powder is evenly distributed throughout the icing sugar. 
  2. Turn mixer to low and slowly add the water, little by little, until the icing reaches the desired thickness and consistency. 
  3. once the water is incorporated, beat the mixture on high to create some volume and lightness in the icing. 

You want two consistencies, the outline thickness to create the shape, and the flood icing to fill in the centre without being so thin it runs over. Royal icing can be any shade, just use gel food colouring, start with a little at first and more until you get the colour you desire. 

I found a lot of helpful blogs on Pinterest about cookie decorating, and royal icing. I suggest reading a few of them before beginning so you’re ready. One tip I liked was using a spray water bottle to add water to change the thickness (not just spewing water in) and using a toothpick to pop bubbles on the tops of cookies before they’re set so they are smoother. 

I made these a week or two in advance, baked and decorated / set, and froze in single layers using parchment in tupperware. Take out the night before event to defrost, in single layers on counter. 

SaveSave

SaveSave

SaveSave

SaveSave